How to Install a Garbage Disposal
Looking to install a garbage disposal? You’ve come to the right place. Read on for a step-by-step guide on how you can install a garbage disposal in your kitchen.
We’ll detail the exact steps necessary for getting the job done as well as recommend some great tools and products that can help you to get the job done faster and better.
Without further ado, here’s what you need to know about installing a garbage disposal!
Product |
Image |
Rating |
Price |
|---|---|---|---|
Waste King Legend Series 1/2 HP Power Cord |
|
||
InSinkErator 74028 Evolution Compact |
|
||
Waste King L-8000 Garbage Disposal, 1HP |
|
||
Oatey Plumber’s Putty |
|
||
Aqua Plumb 01040 |
No products found. |
No products found. |
|
WM Harvey 043010 |
|
How We Chose Our List
We’ve used our own experience as well as some professional advice to come up with a few foolproof methods that are tried and true. One method may not be as effective as others depending on your setup but we’re confident that one of our solutions will do the trick!
Before Starting: Choose the Right Garbage Disposal for Your Home
Before getting started, you’ll need to choose a garbage disposal that’s a good fit for your home. Here are three options that you can consider for your installation:
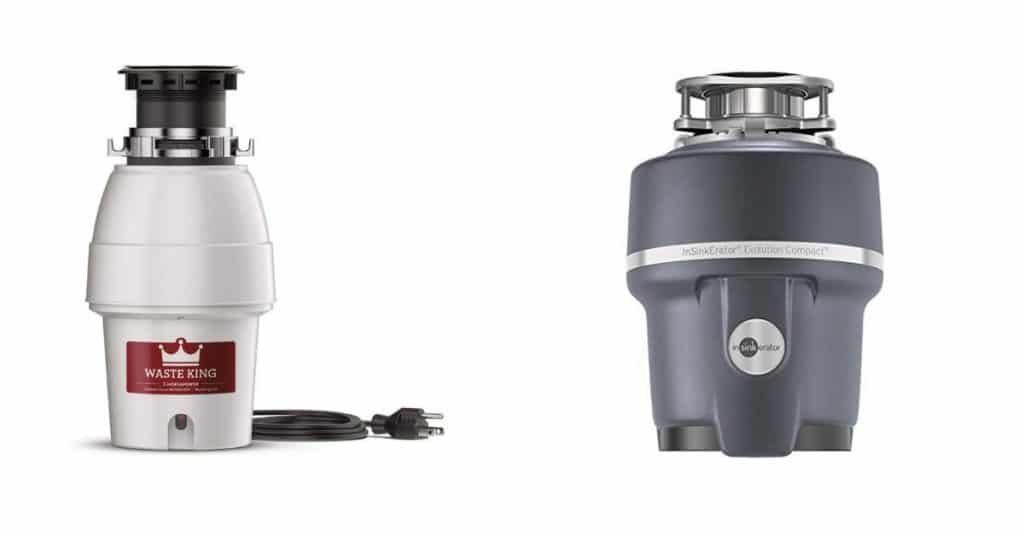
Waste King Legend Series 1/2 HP Power Cord
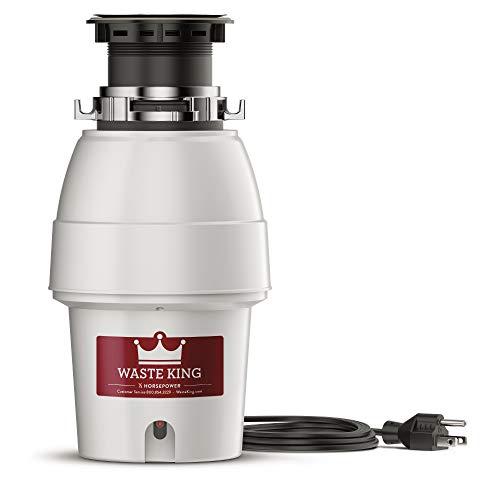
The disposal’s sleek design saves space and provides more storage under your sink.The L-2600 is a durable disposal that’s simple to install and always reliable.
7,535 Reviews Waste King Legend Series 1/2 HP Continuous Feed Garbage Disposal with…
- HIGH-SPEED MOTOR: The 1/2 HP, 2600 rpm permanent magnet motor jams less
- EASY INSTALLATION AND CLEANING: EZ Mount for a quick and easy kitchen sink installation, removable splashguard for easy…
- 5 YEAR PROTECTION: 5-year Limited In-Home Warranty
Quality |
Price |
Rating |
|---|---|---|
$$ |
InSinkErator 74028 Evolution Compact
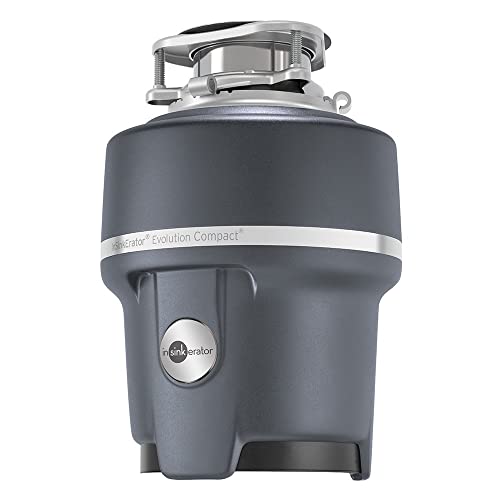
For those looking for power and quietness but in a compact size, the InSinkErator Evolution Compact garbage disposal is the perfect balance. It has a space-saving design that is ideal for small households with restricted cabinet space
8,938 Reviews Garbage Disposer Compact 3/4 HP Evolution Compact, Gray
- A MUST HAVE IN YOUR KITCHEN: This space-saving garbage disposal easily fits under your sink, perfect for small…
- LOW NOISE AND POWERFUL: This innovative food waste disposal features our exclusive 3/4 hp Dura-Drive Induction Motor…
- SAVE TIME AND ECO-FRIENDLY: From meal prep to cleanup, food waste disposal helps make it fast & easy to keep your…
Quality |
Price |
Rating |
|---|---|---|
$$$ |
Waste King L-8000 Garbage Disposal, 1HP
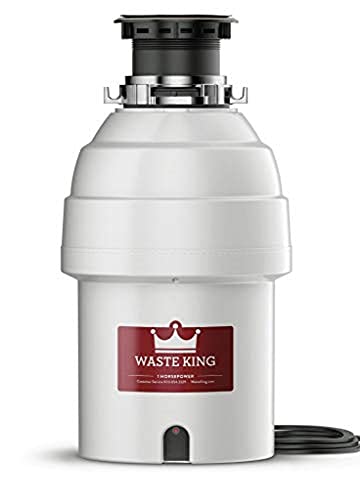
Waste King’s EZ Mount twist-and-lock design provides a fast and easy way to install or replace the disposal in your kitchen sink. Plus, all the necessary hardware is provided, including a 32 inch power cord, saving shoppers an extra trip to the store.
36,310 Reviews Waste King Legend Series 1 HP Continuous Feed Garbage Disposal with…
- HIGH-SPEED MOTOR: The 1 HP, 2800 RPM permanent magnet motor is sound-insulated and jams less. Drain Connection Size: 1…
- EASY INSTALLATION AND CLEANING: EZ Mount for a quick and easy kitchen sink installation, removable splashguard for easy…
- LIFETIME PROTECTION: Lifetime Limited In-Home Warranty
Quality |
Price |
Rating |
|---|---|---|
$$$ |
Regardless of your choice, making sure that you choose a reliable model with a great warranty is always the most important step in choosing the right garbage disposal system.
Steps How to Install a Garbage Disposal
Step 1 – Cut the Circuit Breaker to Your Kitchen and Prep Your Workspace

Before going any further on your garbage disposal project, first cut the circuit breaker in your kitchen. This will help you to keep you safe as it will stop the flow of electricity to the various appliances and lights you have installed in your kitchen.
You can find the circuit breaker in your home either in your basement (in a single-family home) or often in the kitchen in a smaller studio apartment in the city. Make sure you the cut connection and test turning the lights on and off to make sure the power is cut.
Afterwards, place a bucket under the P-trap in your sink and disconnect the drainpipes. Remove the sink strainer and any putty that was originally put in place.
Step 2 – Apply Plumber’s Putty
With the new drain, apply plumber’s putty around the flange. You’ll want to firm push it into place to make sure. If you’re looking for a great putty product, here are a few options for you that you can purchase online today:
Oatey Plumber’s Putty
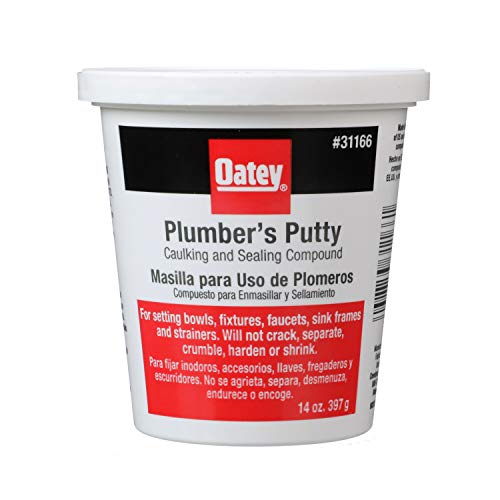
This putty offers a great set of features that make it worth using on your next project.
It’s great for setting bowls and working with fixtures, basins, strainers, plugs, and for use in caulking. It does not harden or crack – or shrink.
277 Reviews Oatey 31166 Hardware Sealers, No Size, White
- Adhesives & Sealants
- Country of manufacture: United States
- Manufacturer: Oatey
Quality |
Price |
Rating |
|---|---|---|
$ |
Aqua Plumb 01040
No products found.
No products found.
If you’re on the market for a plumber’s putty that’s made in the United States of America and offers a high-quality material, then this is the right product for you.
No products found.
Quality |
Price |
Rating |
|---|---|---|
$ |
No products found.
WM Harvey 043010
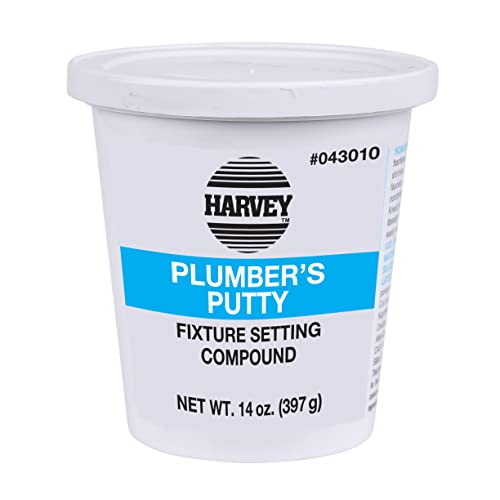
If you’re on the market for a plumber’s putty that’s made in the United States of America and offers a high-quality material, then this is the right product for you.
5,936 Reviews WM Harvey 043010 Stainless Plumbers Putty, 14 oz
- Will not support bacteria
- Meets Federal Specification TT-P-1536A
- For these applications we recommend Harvey’s Siliconized Tub Seal Latex or 100% RTV Silicone
Quality |
Price |
Rating |
|---|---|---|
$ |
Afterwards, place a towel in the sink and put the disposal on the flange. This will keep it from moving and causing problems.
Step 3. Install the Fiber Gasket, Backup Flange, and Mounting Ring Under the Sink

While underneath the sink, you’ll next need to stack the following items: the fiber gasket, backup flange, and mounting ring. Slide this stack under the flange and install the snap ring. You can install the snap ring by prying it open and “snapping” it into the correct position.
Afterwards, you’ll want to make sure that you tighten all screws evenly against the backup flange. You may have some extra putty laying around, so take this time to clean that up as well.
Step 4. Connect to the Dishwasher Drain

You’ll also want to make sure that you route your dishwasher to the garbage disposal. You can connect to a dishwasher by replacing the drain plug from the inlet on the disposal. After you do this, you’ll want to connect the electrical cord by matching to the correct wire colors.
Push the wires in and reattach the plate. Then you should be good to go here.
Step 5. Connect the Drain.

You’re almost to the end of this process! To connect the drain to the garbage disposal, insert the gasket into the discharge outlet. Afterwards, you’ll attach the discharge tube to the flange and bolts mentioned earlier.
Next, you’ll hang the garbage disposal properly by aligning the tabs with the mounting ring. You can use the wrench that was included with the kit or your own wrench to lock the tabs in place over the ridges.
After this, you’ll connect the dishwasher drain and ensure that the discharge pipe is aligned properly. Make sure to use a T-pipe prior to your P-trap.
Important Things to Keep in Mind
After you finish installing the garbage disposal, you’ll want to take care of the following tasks:
- After you install the garbage disposal, you’ll want to test the connections by inserting a stopper in the sink drain. Then you’ll fill the sink with water and check for any leaks in your installation. Finally, plug the disposal into an outlet and flip on the power switch! Don’t forget that you need to flip the proper circuit breaker.
- If your sink does not come with a pre installed switch you may want to consider a wireless garbage disposal switch instead.
- Make sure that you follow the instructions in your manufacturer’s guide. While the steps listed previously provide a broad overview for many different types of garbage disposal installations, only your manual will have the specific instructions that you need to follow. Not all garbage disposals are designed the same way, so it’s especially important to follow the manual.
- If you don’t feel comfortable completing the installation on your own, then you may want to consider calling a professional. Make sure that you reach out to a qualified technician that has experience installing garbage disposals. As always, be careful around moving parts powered by electricity.
- If you live in an apartment building, there may be restrictions around garbage disposals. Always check with your landlord and read your lease to confirm that you can install a garbage disposal in your kitchen.
Leave a Reply